Ready to start learning the violin? Perfect! Let’s get you set up with the basics: tuning your instrument. It might seem tricky at first, but with some practice, you’ll be tuning like a pro in no time.
Why Tuning Matters
First, why bother tuning your violin? A well-tuned violin is important because:
- It helps you play in tune with other instruments.
- It trains your ear to recognize the correct pitch.
- It makes your playing sound more beautiful and professional.
Understanding the importance of tuning will enhance your overall musical experience. So, let’s get your violin singing in perfect harmony and ensure you sound your best.
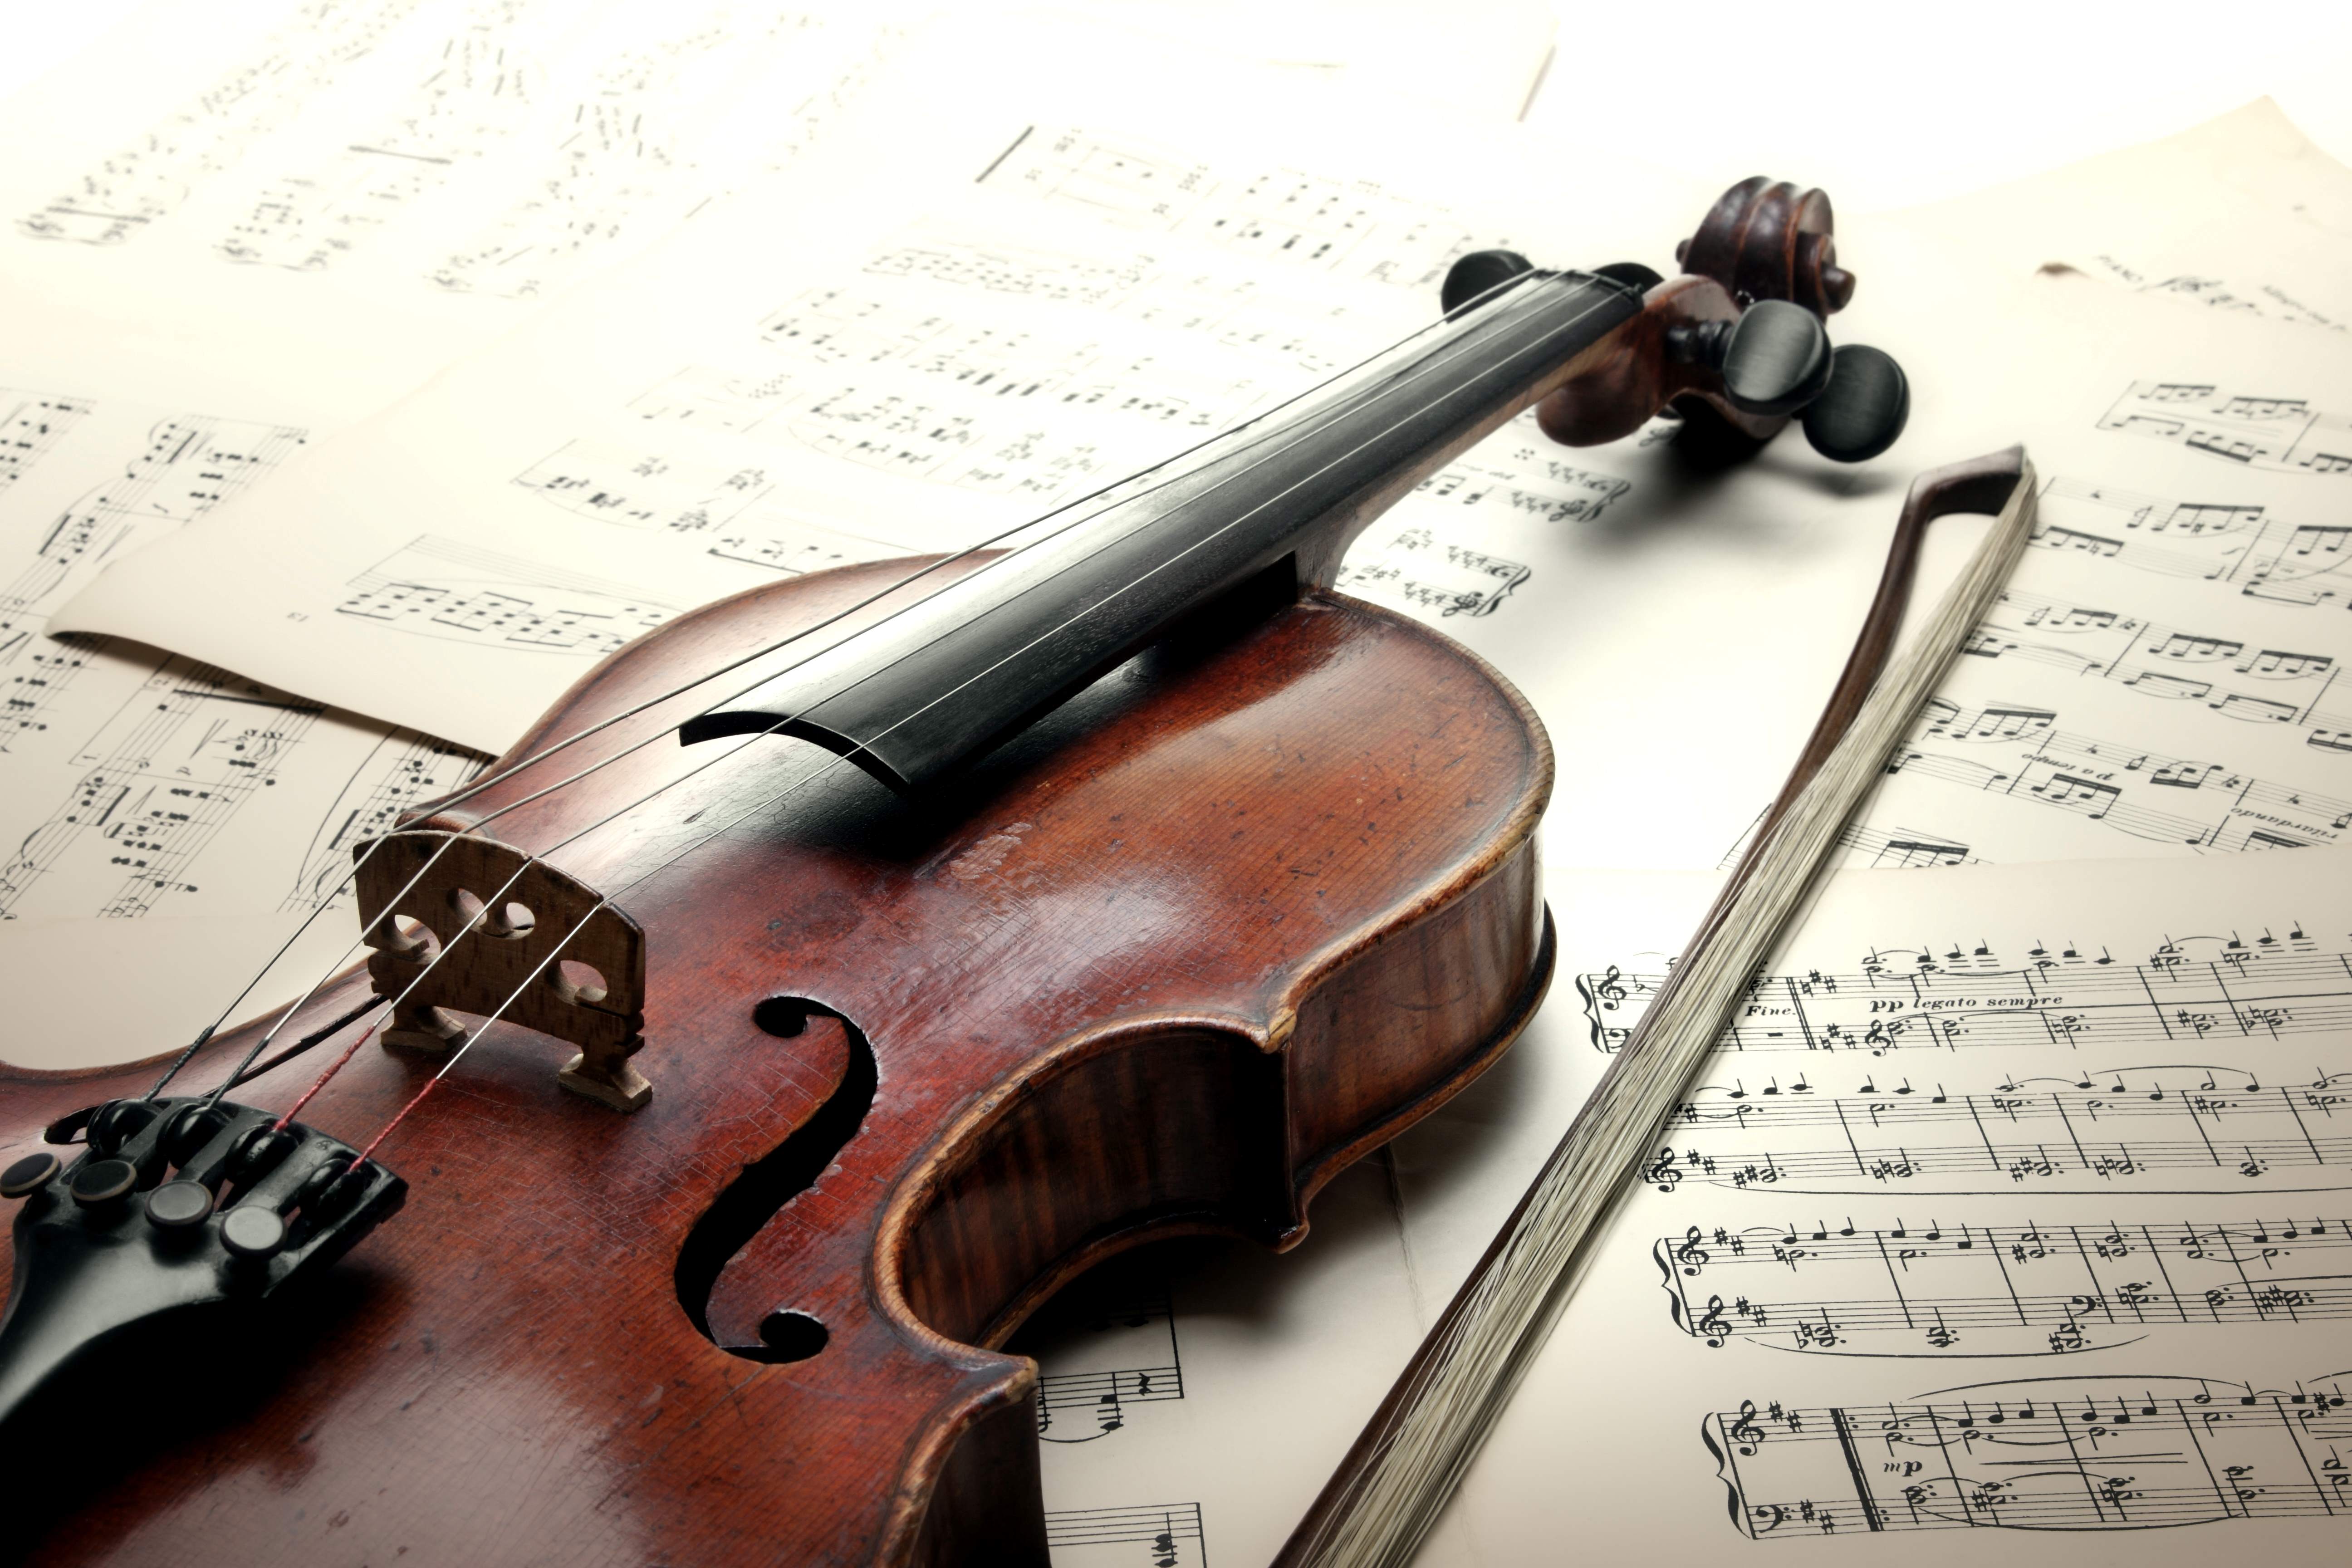
Getting To Know Your Violin Strings
Your violin has four strings, each with a unique sound. Understanding these strings is key to achieving the best tone, whether you’re playing a beginner instrument or a fine Stradivarius violin. Here they are, from lowest to highest pitch:
- G string: The thickest violin string, the G string produces the deepest, richest tone. Its dark and resonant sound adds emotional depth to your music, particularly in lower registers, making it ideal for more powerful or dramatic passages.
- D string: It bridges the gap between the G and A strings with a slightly brighter tone. It???s frequently used for melodic lines and offers a balanced, rich sound in the middle range.
- A string: It’s known for its clarity and brilliance. You???ll often use this string for key melodies due to its bright, expressive tone, making it perfect for lyrical passages.
- E string: This is the brightest and most piercing string. As the thinnest string, the E string delivers high-pitched, sparkling notes, adding sharpness and contrast to your upper register.
Knowing how each string contributes to the violin???s sound helps you tune with more precision and brings a fuller appreciation of the instrument. As you practice tuning, keep in mind how these tonal qualities work together to create a balanced, harmonious performance.
Tools You’ll Need
Before you start tuning, it’s important to have the right tools on hand to ensure accuracy. Here are the essentials you???ll need:
- A violin tuner (electronic or app-based): Electronic tuners or apps provide immediate, accurate feedback on whether your string is sharp or flat. Clip-on tuners are especially useful as they detect vibrations directly from the violin, making them reliable even in noisy environments.
- A pitch pipe or piano (optional): These tools are great for developing your ear by matching your strings to a reference note. Over time, tuning by ear will help sharpen your sense of pitch.
- A violin bow: A well-balanced bow is essential for achieving accurate tuning and sound control. Bows made from carbon composite and pernambuco wood are known for their durability and responsiveness, helping you fine-tune your instrument effectively. You can find various options to buy online, allowing you to choose one that fits both your style and budget.
With these tools, tuning becomes easier and more precise. Now that you???re prepared, let???s get started on tuning your violin!
Step-by-Step Violin Tuning Guide
Following a clear process will make tuning much easier. Let???s walk through tuning each string to get your violin sounding just right.
1. Prepare Your Violin
First, make sure you’re in a quiet environment. Background noise can interfere with tuning. Hold your violin in playing position or rest it on your lap. This helps you hear the strings clearly.
2. Use Your Violin Tuner
Turn on your electronic tuner or open your tuning app. These tools will be invaluable during this process. They’ll show you whether your string is too high (sharp) or too low (flat).
3. Start With the A String
Always begin with the A string. It’s your reference point for the other strings. Here’s how:
- Play the A string with your bow.
- Look at your tuner. Is the needle in the center?
- If it’s to the left, your string is flat. Turn the peg slightly clockwise to raise the pitch.
- If it’s to the right, your string is sharp. Turn the peg counterclockwise to lower the pitch.
Keep adjusting until the needle stays centered when you play the string.
4. Move to the D String
Once your A string is in tune, it’s time for the D string. Follow these steps:
- Play both the A and D strings together.
- Listen carefully. They should sound like they’re five notes apart.
- Use your tuner to fine-tune the D string, just like you did with the A string.
You???re now halfway to having a perfectly tuned violin.
5. Tune the G String
Now for the G string:
- Play the D and G strings together.
- Again, they should sound five notes apart.
- Adjust the G string using your tuner until it’s perfectly in tune.
With the G string tuned, you’re almost done!
6. End With the E String
Last but not least, tune the E string. Here’s how:
- Play the A and E strings together.
- They should sound seven notes apart.
- Use your tuner to make any necessary adjustments.
You’ve just tuned all four strings of your violin!
Tuning might take some practice, but each time you follow these steps, you’ll become more confident. With your violin in tune, you’re now ready to play with clarity and precision.
Tuning Pegs vs. Fine Tuners: When To Use Which?
When you’re tuning your violin, you might wonder when to use the pegs and when to rely on the fine tuners. Here’s how to decide:
Pegs, found at the top of the violin on the scroll, are used for large adjustments in pitch. They are wooden, tapered knobs that hold the strings in place and control their tension. If a string is significantly out of tune???either too sharp or too flat???start with the pegs. When turning the pegs, make small, controlled adjustments to avoid over-tuning or damaging your strings. Pegs can sometimes be difficult to manage, but with practice, you’ll get a feel for how much to turn and when to stop.
Fine tuners, located on the tailpiece of the violin, are small metal screws that allow for precise adjustments. Once your string is close to being in tune using the pegs, you can switch to the fine tuners for the final tweak. This combination of using both pegs and fine tuners makes the tuning process easier and more efficient, especially when fine-tuning higher-pitched strings like the E string.
Remember, pegs can be stubborn sometimes. If you’re having trouble, don’t force it. Ask your teacher or a more experienced player for help.
Common Violin Tuning Challenges (and How To Overcome Them)
Tuning your violin isn’t always smooth sailing, and you???ll likely encounter some challenges along the way. Here are common tuning issues and how to handle them:
1. Slipping Pegs
If your pegs keep slipping, it might be because they aren’t fitted snugly enough into the pegbox. To prevent this, try gently pushing the peg inward while turning it. Be careful not to apply too much pressure, as this can damage the instrument.
If the issue persists, a professional may need to apply some peg compound to improve grip. Peg slipping can be especially frustrating when it happens frequently, so don???t hesitate to have your pegs adjusted by a luthier if the problem continues.
2. Stuck Pegs
On the flip side, pegs can sometimes get stuck. This often happens in dry climates or if the pegs have expanded due to humidity. Never force a stuck peg, as this can cause it to break. Instead, try turning it gently while pushing it in and out to loosen it.
If the peg remains stuck, you might need to visit a violin shop to have it fixed professionally. Regularly checking your pegs’ smoothness and using peg drops can prevent them from becoming immovable.
3. Breaking Strings
It’s a situation every violinist faces at some point???strings snapping while tuning. This can be due to old, worn-out strings or tuning too quickly. Always tune slowly, especially with the higher-tension E string. If a string breaks, stay calm and replace it as soon as possible.
Keeping an extra set of strings in your case is a smart idea, so you’re always prepared. Make sure you wind the new string correctly around the peg and stretch it slightly before tuning to avoid snapping it again.
4. Tuner Not Responding
If your tuner isn’t picking up the sound of your violin, first ensure your instrument is loud enough and the tuner???s microphone is unobstructed. Electronic tuners often come with different settings, so check to see if it’s set to “violin” or “chromatic” mode for accuracy.
If you’re using a tuning app, confirm that your device’s microphone is enabled for the app. If all else fails, switch to a pitch pipe or piano to tune by ear while troubleshooting the tuner.
Each of these challenges can be frustrating, but with patience and practice, you’ll learn how to handle them smoothly. Addressing these issues early will help you avoid stress and keep your tuning process as seamless as possible.
Maintaining Your Violin’s Tune
Your violin won’t stay in tune forever. Here are some tips to keep it sounding great:
- Tune your violin every time you play. Make it part of your routine.
- Store your violin properly. Extreme temperatures and humidity can affect tuning.
- Replace your strings regularly. Old strings can make tuning difficult.
- Have your violin checked by a professional periodically. They can spot and fix potential issues.
By tuning regularly and caring for your violin, you’ll extend its life and maintain its beautiful sound. Consistent attention to these small details will keep your playing experience smooth and enjoyable.
Final Thoughts
Tuning your violin is an essential skill that will serve you throughout your musical journey. With practice, patience, and persistence, you’ll soon find that tuning becomes second nature. Remember, every great violinist started where you are now. So don’t get discouraged if it seems challenging at first. Keep at it, and before you know it, you’ll be tuning your violin like an expert.
Now, pick up that violin and start tuning! Your musical adventure awaits. Happy playing!